Bring Your Music to Life: How to Reset Your HomePod for the Best Audio Experience
Imagine the harmony of a finely-tuned orchestra, humming beautifully from Apple's HomePod in your living room. This isn't just a speaker. It's a maestro, delivering your favorite melodies with rich and vivid detail. But what if the maestro stumbles? What if your HomePod isn't living up to its potential, failing to deliver the sonic enchantment it promised?
Don't fret, dear music lover. Your HomePod is a complex device, and like any virtuoso, it may occasionally need a tune-up to deliver its best performance. That's where we come in, with a detailed guide on how to reset your HomePod and bring your music back to life. Whether you're resetting the device for the best audio, troubleshooting a HomePod mini, or seeking to reboot your symphony conductor, we've got you covered.
Are you eager to journey into the realm of HomePod audio solutions? Are you curious about how a simple reset can rejuvenate your audio experience? If so, let's begin this adventure. Soon, you'll be swept away by your favorite tunes, guided by the HomePod at the helm.

Ever felt like your HomePod Mini isn't quite hitting those high notes as it used to? Or perhaps the bass doesn't reverberate with the same intensity? Well, you're not alone. Even the best of us have faced the occasional hiccup with our beloved HomePods. And while it's easy to jump to conclusions and consider it a device issue, more often than not, it's a matter of a simple reset. Yes, you read that right. Resetting your HomePod can breathe new life into your music experience. But when should you consider this?
Picture it as a sonic spa day. When your HomePod starts misbehaving, refuses to connect, or the sound quality deteriorates, a reset is in order. It's a fresh start for your device that allows it to rekindle its initial, superb audio prowess. This reality is particularly poignant if you've updated your iOS or relocated your HomePod. But how do you reset a HomePod or reboot a HomePod Mini? Fear not, we have the answers. We've aided you with resolving your AirPods issues and fine-tuning your Echo Dot, and we're ready to assist with your HomePod as well.
Never perceive a device reset as a sign of failure. Instead, view it as a stride towards success — the triumph of an exceptional HomePod audio experience. Eager to learn how to factory reset a HomePod Mini or hard reset a HomePod Mini? Let's march straight into the details!
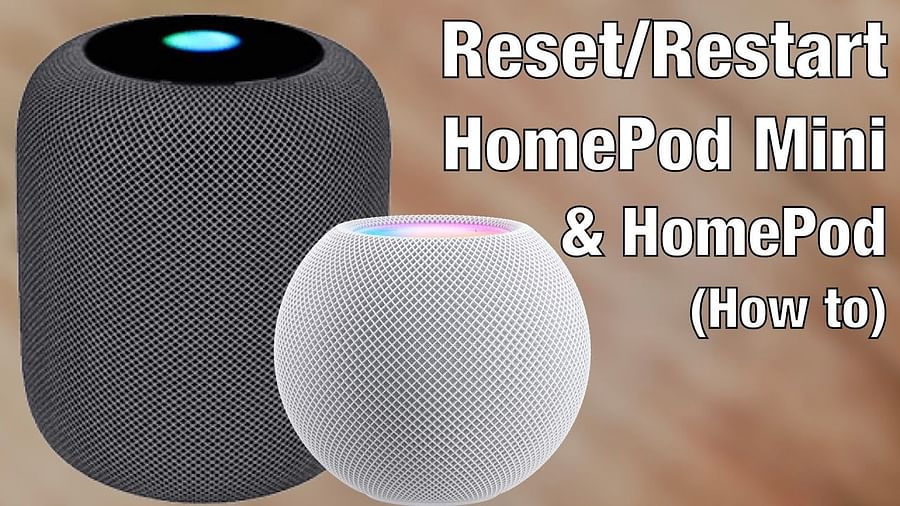
Grasping the importance of resetting your HomePod, let's guide you through a step-by-step process. Adhere to these instructions for a smooth and successful reset:


And there you have it! Your HomePod is now reset and ready to deliver the best audio experience. Let's see how this process looks in action in the next section.
Now that you know the steps to reset your HomePod, here's a useful video tutorial that can guide you through the process.
With your HomePod reset, you're ready to move on to our tips for enhancing your HomePod's audio experience.
Now that your HomePod is humming perfectly, let's dial up its audio performance. Ever wondered why your favorite song doesn't sound as breathtaking at home as it did in the store? It's all about the placement, my friend. Nestling your HomePod in a corner or against a wall can cause the sound to bounce irregularly, muffling the clarity. Instead, try placing it at least six inches from any wall. You'll be amazed at the difference!
But hey, what if the issue isn't about placement? Maybe your HomePod needs a little digital detox. Yes, you guessed it, resetting your device for the best audio. It's a simple, yet often overlooked step that can breathe new life into your HomePod. Wondering how to reset a HomePod or how to reboot a HomePod Mini? Don't worry, we've got you covered in our step-by-step guide here.
Remember, just like a fine instrument, your HomePod requires tuning to give you the best audio experience. So why not take a moment to reset, reboot, and rediscover the magic of your HomePod? After all, isn't it about time your music truly came to life?
Ever found yourself in a musical muddle with your HomePod, where the audio experience feels like a symphony missing a few notes? Don't fret, as it's quite common to encounter a few hiccups with this smart device. Perhaps your HomePod mini is playing hard to get, refusing to connect to other devices, or your HomePod's audio output is more of a whisper than a roar. Or maybe, it's just not living up to the concert-in-your-living-room feel you were promised.
But here's the good news: these issues can often be resolved by simply resetting your device. It's like giving your HomePod a fresh start, a clean slate. It's the electronic equivalent of a good night's sleep. And who doesn't feel better after one of those?
Curious about the magic formula to reset your HomePod Mini? Want to decipher the best means to reboot your HomePod Mini for an optimal audio experience? Or, perhaps, you're on the lookout for a comprehensive guide on how to factory reset your HomePod Mini? Stay with us; we have all your queries covered.
Before we proceed to how a reset and proper setup can amplify your musical journey with HomePod, let's clarify a few commonly asked questions related to the HomePod and its settings:
With your questions answered, let's proceed to breathe life into your music with the stunning HomePod experience.
Ever wondered how to bring your music to life, transforming your living space into a symphony of sound? If so, then your HomePod is the key to the audio kingdom. However, sometimes, even the best maestros need a bit of fine-tuning. Resetting your HomePod can be the magic wand that waves away those pesky audio issues, elevating your music experience to new heights.
But how to reset a HomePod mini? Or how to hard reset HomePod mini? Ah, the mysteries of Apple's device! Fret not, because we've got you covered. From showing you how to factory reset HomePod mini, to guiding you through the path of HomePod audio troubleshooting, we're here to make your audio journey as smooth as a Mozart composition.
Always remember, optimizing your device's audio through a reset isn't merely about hitting the restart option. It also entails correctly configuring it post-reset. Whether you need guidance on resetting your HomePod or rebooting your HomePod Mini, we're here to perfect your auditory journey.
Are you geared up to master your HomePod's performance for an unmatched audio experience? Remember, in the grand symphony of life, your HomePod is not just an instrument; it's the virtuoso conductor.
With your HomePod reset and configured correctly, it's time to validate its performance. We suggest the following track for this purpose:
How did your HomePod perform? We'd love to know. Participate in our community poll below and share your experience.
After following the steps in this guide and resetting your HomePod, we're curious to know how you'd rate its audio performance. Did the sound quality improve? Share your experience with us!

David Fixit is a hardware guru with a passion for dissecting gadgets and understanding their inner workings. His guides on device resets are detailed, easy to follow, and highly effective. When he's not writing for How Reset, David enjoys building custom PCs.
All Rights Reserved © 2024


Post a comment