
Start with the official recovery page
Before you begin, you need to locate the correct entry point for your account provider. Using the official recovery portal is the only way to ensure your request is legitimate and that your data remains secure. Phishing sites often mimic these pages to steal credentials, so verifying the URL is your first line of defense.
For Google accounts, start at the account recovery page. This tool guides you through verifying your identity using a phone number or recovery email you previously set up. Access the recovery form directly at accounts.google.com/signin/usernamerecovery.
If you are trying to recover a password rather than a username, the Google Password Manager is the appropriate starting point. It allows you to check the strength of saved passwords and initiate recovery if they have been compromised. Stick to these official domains to keep your recovery process safe and effective.
Reset your Google account password
Start by visiting the Google Account Recovery page. This tool guides you through verifying your identity to regain access to your account. If you haven't forgotten your username, go directly to the main sign-in page and click "Forgot password?"
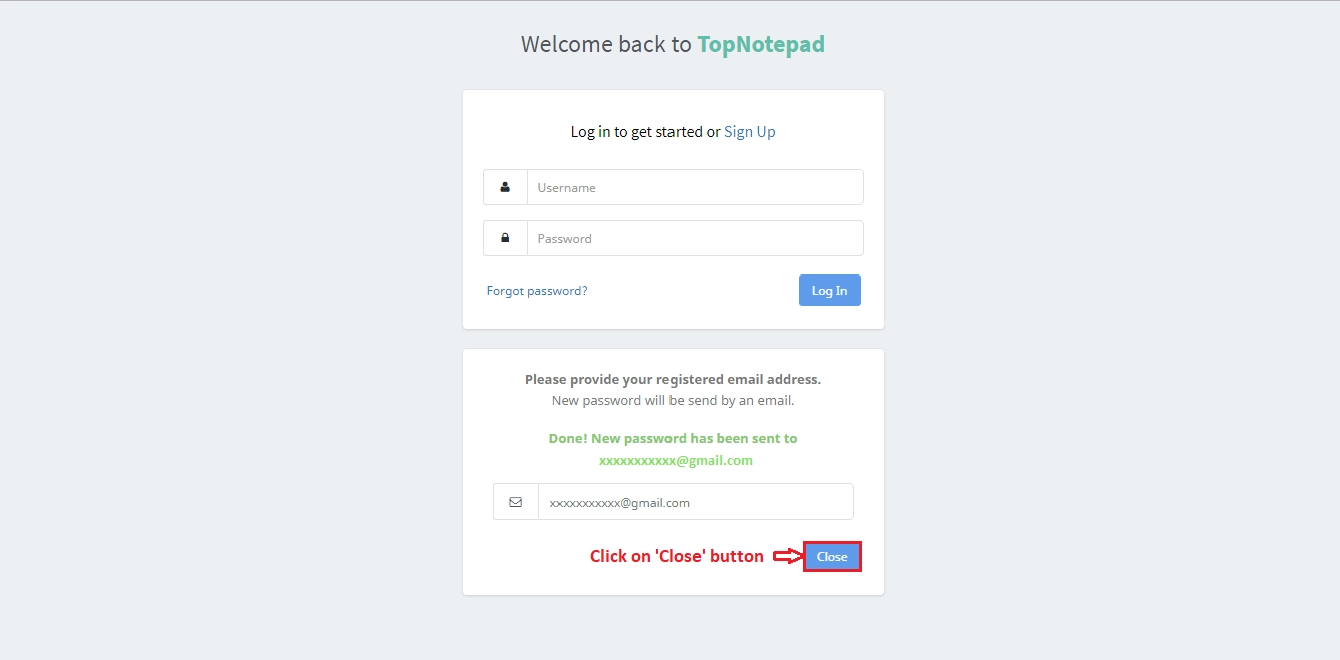
Type the email address associated with the Google account you are trying to access. If you don't remember the exact address, click "Try another way" or "Forgot email" to search for it using your recovery phone number or alternate email.
Google will ask for the most recent password you recall. If you don't remember any, click "Try another way." Providing the last known password helps Google verify that you are the account owner, even if it is no longer active.

Google will send a verification code to your recovery phone number or backup email address. Check your messages and enter the code on the recovery page. If you don't receive the code, click "Try another way" to use an alternative verification method, such as a security question or a prompt on a trusted device.

Once your identity is verified, you will be prompted to create a new password. Choose a strong, unique password that you haven't used before. Google will suggest a strong password, or you can create your own. Make sure to save this new password in a secure location, such as a password manager.
If the automated recovery process doesn't work, Google may ask additional security questions or require you to wait 24-48 hours before trying again. This waiting period helps prevent unauthorized access. After resetting your password, review your account's recovery options to ensure they are up to date, making future recovery easier if needed.
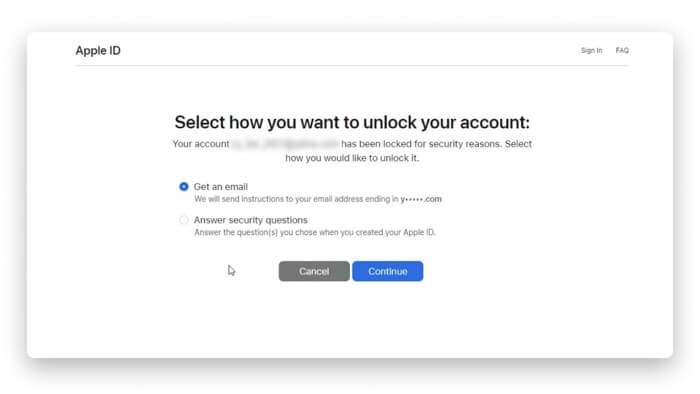
Recover your Apple ID account
Step-by-Step Password Recovery for Apple and Google works best as a sequence, not a scramble through settings. Do the minimum first: confirm compatibility, connect the core hardware, update only when needed, and test the result before adding optional features. That order keeps the task understandable and makes failures easier to isolate. After each step, pause long enough for the interface to finish syncing. Many setup problems are timing problems disguised as configuration problems. If the same step fails twice, record the exact error, restart the smallest affected piece, and retry before moving deeper.
Fix common recovery errors
Step-by-Step Password Recovery for Apple and Google troubleshooting should start with a clear boundary: what is actually broken, and what still works normally. Check the display, network connection, paired devices, app access, and recent updates before assuming the whole system needs a reset. A small connection failure can make the main screen feel unreliable even when the core system is fine. Work from low-risk checks to deeper resets. Confirm power state, safe parking, account access, and signal first. Then restart the interface, wait for it to reload completely, and test the original symptom. Avoid changing multiple settings at once because that makes it harder to know which step actually fixed the problem. If the issue affects safety information, repeats after every restart, or appears with warning messages, treat the reset as a temporary diagnostic step rather than the final fix. Document the symptom and move to official support instead of stacking more DIY attempts.
The simplest way to use this section is to keep the setup small, verify each change, and record the stable configuration before adding optional accessories.
Verify access and update settings
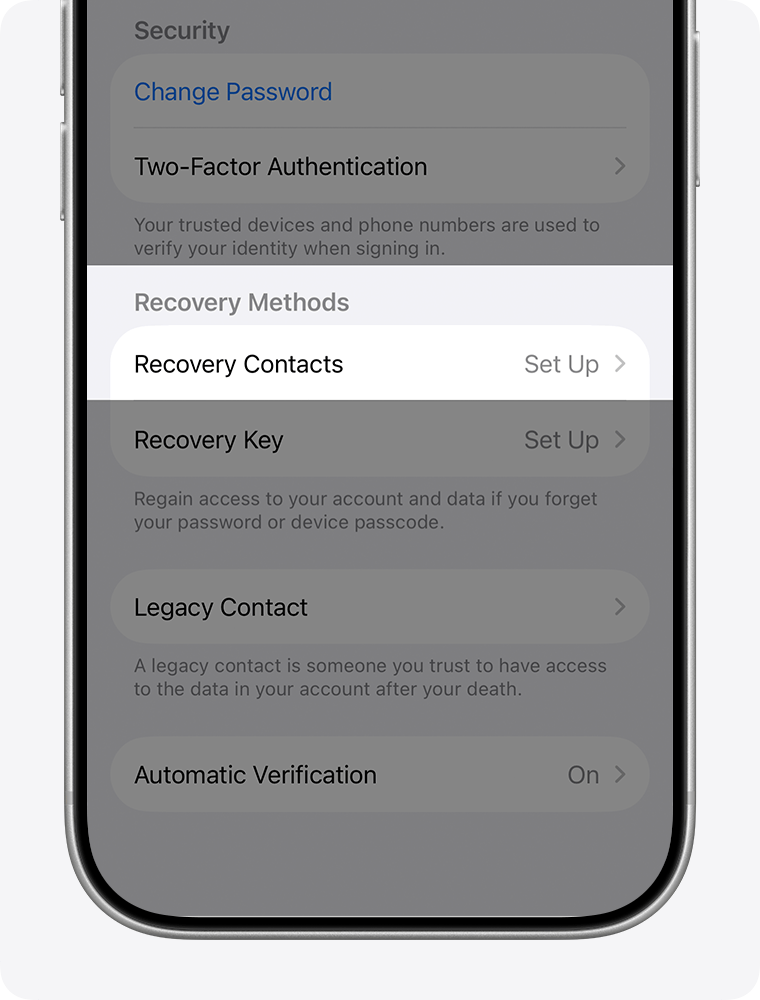
Once you have reset your password, the immediate goal is to secure the account against future unauthorized entry. For both Apple and Google, this involves updating recovery information and reviewing active sessions to ensure no other devices are logged in.
Start by updating your recovery phone number and email address. This is the primary way to regain access if you forget your password again. Next, enable two-factor authentication (2FA) if it is not already active. For Apple, this means setting up an authenticator app or using your trusted device. For Google, you should add a secondary method, such as a security key or prompt on your phone.
Finally, review your active sessions. Log out of any devices you do not recognize or no longer use. This step is critical for password recovery security, as it ensures that only you have access to your account moving forward.
-
Update recovery email and phone number
-
Enable two-factor authentication
-
Review and log out of active sessions
No comments yet. Be the first to share your thoughts!